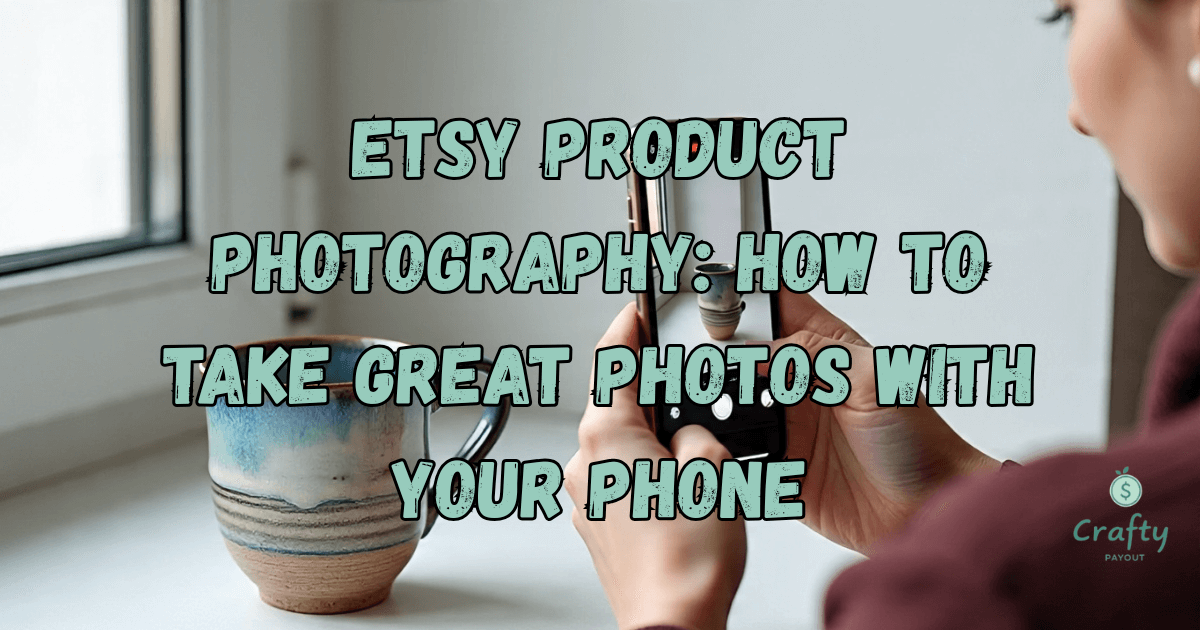
5-Step Guide to Stunning Etsy Product Photography (With Your Phone)
In the world of Etsy, your photos aren’t just pictures; they are your virtual storefront, your salesperson, and your first impression. High-quality images can be the single most important factor that turns a casual browser into a loyal customer. But here’s a secret: you don’t need a fancy, expensive camera. The powerful tool you need for amazing Etsy product photography is already in your pocket. This guide will show you how to take stunning photos with just your phone.
Why Great Product Photography Matters on Etsy
On Etsy, customers can’t touch or feel your products. Your photos have to do all the work. They build trust, show off the quality of your craftsmanship, and help the customer imagine the item in their own life. Poor, dark, or blurry photos can make even the best products, like the best selling items on Etsy, look cheap. Great photos, on the other hand, justify your price and make your items irresistible.
Your 5-Step Guide to Pro Photos with a Phone
Step 1: Master Your Lighting (It’s Free!)
Good lighting is the #1 rule of all photography. Forget your camera’s flash—it creates harsh shadows and washes out colors. Your best friend is natural, indirect daylight.
- Find a Window: Set up your “studio” next to a large window that doesn’t have direct, harsh sunlight pouring in.
- Use a Reflector: On the side opposite the window, place a simple piece of white foam board or cardboard. This will bounce light back onto your product, softening shadows and illuminating details. This simple trick makes a huge difference in Etsy product photography.
Step 2: Create a Clean, Simple Background
Your product is the star of the show. The background should be clean, simple, and non-distracting. You don’t want a cluttered table or a messy room stealing the spotlight.
- White is Always Right: A large sheet of white paper or a poster board is a perfect, professional-looking background for almost any product.
- Try Other Textures: A rustic wood plank, a piece of neutral-colored fabric, or a marble-patterned contact paper can also add character without being distracting.
Step 3: Stabilize Your Phone and Use Key Features
Shaky hands are the enemy of sharp photos. Stabilizing your phone is a non-negotiable rule for good Etsy product photography. A small, inexpensive phone tripod is one of the best investments you can make. If you don’t have one, prop your phone up against a stack of books.
- Don’t Zoom: Digital zoom on a phone will ruin your photo quality. Instead, physically move your phone closer to the product.
- Tap to Focus: Tap on your screen where your product is. A square or circle will appear, confirming the focus. You can also often adjust the brightness by sliding your finger up or down.
Step 4: Get All the Right Shots
Etsy gives you 10 photo slots per listing—use them! Shoppers want to see your item from every angle. A comprehensive set of photos answers questions before they’re even asked.
- The Establishing Shot: A clear, well-lit shot of the entire product.
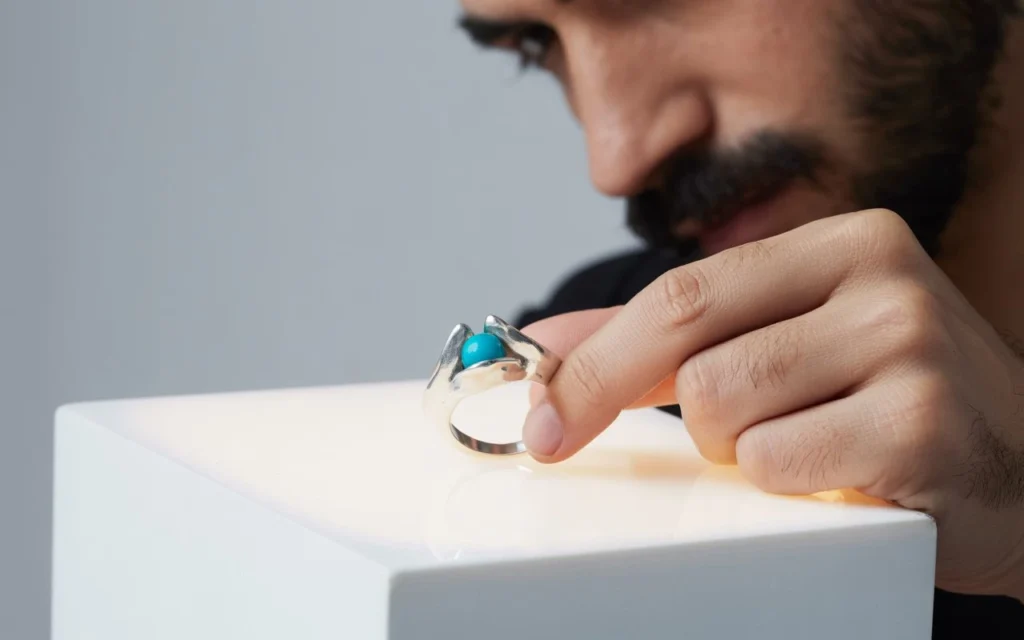
- Detail Shots: Close-ups of important details, textures, or handmade features.
- Scale Shot: A photo of the item next to a common object (like a coin or a hand) to show its size.
- Lifestyle/In-Context Shot: Show the product in use. A necklace being worn, a mug being held, or a print hanging on a wall.
Step 5: Edit Lightly and Consistently
A little editing can elevate your photos, but don’t overdo it. The goal of great Etsy product photography is to make the photo look like the product does in real life, only better.. The goal is to make the photo look like the product does in real life, only better. Use your phone’s built-in editor or a free app like Snapseed or Adobe Lightroom Mobile.
- Brighten: Slightly increase the brightness or exposure.
- Contrast: Add a touch of contrast to make the colors stand out.
- Crop & Straighten: Make sure your lines are straight and the product is centered.
Conclusion: Consistency is Key
Mastering Etsy product photography with your phone is a skill that you will develop over time. The most important thing is to be consistent. Use a similar lighting setup and background for all your products to create a cohesive, professional look for your shop. Now go grab your phone and start shooting! For more official guidance, Etsy’s own Ultimate Guide to Product Photography is a fantastic resource.
(DISCLOSURE) This post may contain affiliate links. If you make a purchase through one of these links, we may earn a small commission at no extra cost to you. We only recommend products we truly believe in. Please read our full Disclosure for more information.


